Sketching app in Flutter - Part 1
Welcome, again
I remember writing this blog in 2019 on Medium drafts. I was nervous since this was my first technical blog ever, and it ended up being the last as well. The only technical content I have written post this is the documentation at my workplace. I am republishing this blog here to mark the beginning, yet again. As a disclaimer - for those of you reaching here from the original Medium post - the code has been updated slightly to accommodate null safety. I have also made a minor change of removing the app bar from the app since it allows for more accurate touches & drawings. The repo link is at the end of the blog, so please go through it. Let's get started!
Getting Started
Pre-requisites of this project include the installation of Flutter and a reliable text editor of your choice. To install Flutter on your device, please follow the instructions given on this link: https://docs.flutter.dev/get-started/install.
Assuming everything goes well, you would now have Flutter installed on your machine. The next step, create a new flutter project. The simplest way to do so, open your text editor of choice (VSCode in this case), and in the terminal window, enter the following command:
flutter create --org com.aadumkhor sketching-app
We added the parameter `--org` to the default command to modify the package name. It would save a lot of time editing the package name at multiple instances whenever you want to build the app. You would have a similar folder structure once this step is complete:
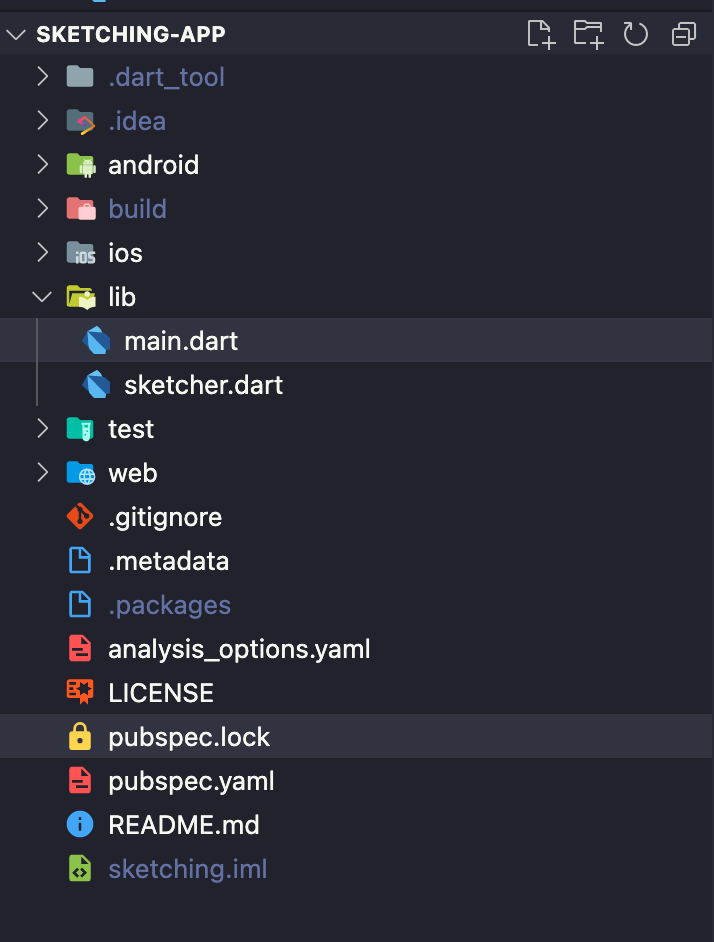
After this, open the newly created folder in your favorite text editor (VSCode in my case) and replace the contents of main.dart with the following:
import 'package:flutter/material.dart';
import 'package:sketching/sketcher.dart';

// Sketching app for Flutter!
void main() => runApp(const MyApp());

class MyApp extends StatelessWidget {
  const MyApp({Key? key}) : super(key: key);

  @override
  Widget build(BuildContext context) {
    return MaterialApp(
      title: 'Sketching App',
      theme: ThemeData(primarySwatch: Colors.deepPurple),
      debugShowCheckedModeBanner: false,
      home: const MyHomePage(),
    );
  }
}

class MyHomePage extends StatefulWidget {
  const MyHomePage({Key? key}) : super(key: key);

  @override
  _MyHomePageState createState() => _MyHomePageState();
}

class _MyHomePageState extends State<MyHomePage> {
  @override
  Widget build(BuildContext context) {
    return Scaffold();
  }
}
Coding the sketching area
If you are not familiar with it, Flutter has an abstract class called CustomPainter. As the name suggests, this is used to paint something on the screen, exactly what we need. In our _MyHomePageState class, we declare a list of Offset points. These points are the dots that will connect the paint on the screen. You can initialize them by using the following line of code:
List<Offset?> points = <Offset?>[];
We have used a list of Offsets that can also take null values. This declartion was not posible during the first iteration of this app but now, dart has migrated to nul safety and this declaration explicitly tells us that this list can contain null values. Cleaner, crystal clear code in my opinion.
Now lets' create the sketching area. As shown in the snippet below, we have used a function that returns a GestureDetector widget.
  /// Best to have this as a separate widget, but for
  /// the purpose of keeping things simple this
  /// is kept here.
  GestureDetector sketchArea() {
    return GestureDetector(
      onPanUpdate: (DragUpdateDetails details) {
        RenderBox box = context.findRenderObject() as RenderBox;
        Offset point = box.globalToLocal(details.globalPosition);
        setState(() {
          points = List.from(points)..add(point);
        });
      },
      onPanEnd: (DragEndDetails details) {
        points.add(null);
      },
      /// This method can be uncommented if each time you
      /// draw you would want to
      /// start a new drawing. This will reset the `points`
      /// array.
      ///
      // onPanStart: (DragStartDetails details) {
      //   RenderBox box = context.findRenderObject() as RenderBox;
      //   Offset point = box.globalToLocal(details.globalPosition);
      //   setState(() {
      //     points = [point];
      //   });
      // },
      child: RepaintBoundary(
        child: Container(
            width: MediaQuery.of(context).size.width,
            height: MediaQuery.of(context).size.height,
            color: Colors.yellow[100],
            child: CustomPaint(
              painter: Sketcher(points),
            )),
      ),
    );
  }
The GestureDetector contains a RepaintBoundary widget as its child. This is another upgrade from the original project. This widget improves the app performance if the child widget repaints numerous times. Quoting the Flutter documentation for this:
A widget that creates a separate display list for its child. This widget creates a separate display list for its child, which can improve performance if the subtree repaints at different times than the surrounding parts of the tree.
The remaining is a normal Container that takes the full width & height of the screen. This Container is the parent of a CustomPainter widget which includes our custom painter class called Sketcher (more on this later). Ignore the errors around Sketcher for now. Let's focus on the in-built methods for panning. The 3 methods are explained as followed:
-
onPanUpdate: We first access theRenderBoxobject from our context.RenderBoxis the area of our screen that is used to draw widgets. In simple words, we are gaining access to the 2D plane of the screen. Next we access the point of typeOffsetfrom this box. We are using a method globalToLocal to get the point from the world perspective (that is from user's screen) to the box's perspective. To get the global details we have used thedetailsargument from theDragUpdateDetailswhich contains this data. Next step is to update the list of points on screen in the state. This is done using setState method. We are recreating the points list and appending the new point to it using the '..' opreator in dart. -
onPanEnd: This one is simple, we add a null point to the list of points so that nothing is rendered when we end the drag. -
onPanStart: This one is used to indicate that drag has started. From the method in the comments you can see that we are doing the same thing as we do in the update, the only difference is that instead of creating a new list of points and adding the new point to it, we are creating a new list containing just that single point. This is an edge case & this can be handled by the update method we have specified before. The catch associated with this method is that, if enabled, whenever the user ends a line and begins a new one, to entire point array gets reset. Therefore the existing sketch is replaced by the new, single point on the screen when a new drag starts.
I have compared the effect of enabling and disabling onPanStart in the end. For now let's proceed with the CustomPaint class.
Coding the Painter class
Create a new file called sketcher.dart in the lib folder. Add the following code to it :
import 'package:flutter/material.dart';

class Sketcher extends CustomPainter {

}
You will see an error when you put this code in your file. If you hover over the error, VSCode says that there are overrides that are missing from this class. Implement the two methods from the editor itself. The final starting point of this class should look similar to this :
import 'package:flutter/material.dart';

class Sketcher extends CustomPainter {
  @override
  void paint(Canvas canvas, Size size) {}

  @override
  bool shouldRepaint(Sketcher oldDelegate) => false;
}
In Flutter, CustomPainter class has 2 override functions - paint and shouldRepaint. shouldRepaint checks if the existing paint should be updated or repainted based on some boolean condition. paint, as the name suggests, defines the logic of what is being painted on screen.
For this class, we require only one variable and that is our list of Offset. So we declare a list of Offset and add it to the constructor of this class.Bear in mind Offset in this case are nullable i.e. can take null values. Hence we use the ? notation to specfy the same.
In the paint function add the following lines of code to complete it:
import 'package:flutter/material.dart';

class Sketcher extends CustomPainter {
  //list of points which are to be painted
  final List<Offset?> points;

  Sketcher(this.points);

  @override
  void paint(Canvas canvas, Size size) {
    //properties of the paint used to draw
    Paint paint = Paint()
      ..color = Colors.blue
      ..strokeCap = StrokeCap.round
      ..strokeWidth = 5.0;

    // iterate through all the points
    // check if the initial and final points
    // are not null. If not null then draw using
    // canvas function.
    for (int i = 0; i < points.length - 1; ++i) {
      if (points[i] == null) continue;
      if (points[i + 1] != null) {
        canvas.drawLine(points[i]!, points[i + 1]!, paint);
      }
    }
  }

  @override
  bool shouldRepaint(Sketcher oldDelegate) {
    return oldDelegate.points != points;
  }
}
That might be very new for some of you so allow me to explain. We first declare a Paint object that will be responsible for painting on the screen. Consider it the brush of our app. Using ‘..’ operator in Dart we set the properties of the paint. We set the color to blue, strokeCap to round, and stroke-width to 4.0. We can play around with these values but for now, let’s leave them as they are. We then iterate over all the points using the for loop & check if the current point is null. If yes we continue, i.e we do not execute any new paint logic. Next, we check next point and see if it is not equal to null. If it is not we draw a line between the current and next point using the paint we had created in the previous step.
Now in the second function, we check if the previously drawn points are the same as the current drawn points. If they are equal then we return false and we will not update the screen, however, if they are unequal we return true and repaint the screen as the function suggests. I hope you understand that the points we are talking about are actually from the list of Offset? that we have previously declared.
Combining both parts
We have our brush and canvas ready, now we need to integrate these two. Your main.dart should look something like this:
import 'package:flutter/material.dart';
import 'package:sketching/sketcher.dart';

// Sketching app for Flutter!
void main() => runApp(const MyApp());

class MyApp extends StatelessWidget {
  const MyApp({Key? key}) : super(key: key);

  @override
  Widget build(BuildContext context) {
    return MaterialApp(
      title: 'Sketching App',
      theme: ThemeData(primarySwatch: Colors.deepPurple),
      debugShowCheckedModeBanner: false,
      home: const MyHomePage(),
    );
  }
}

class MyHomePage extends StatefulWidget {
  const MyHomePage({Key? key}) : super(key: key);

  @override
  _MyHomePageState createState() => _MyHomePageState();
}

class _MyHomePageState extends State<MyHomePage> {
  List<Offset?> points = <Offset?>[];

  @override
  Widget build(BuildContext context) {
    return Scaffold(
      /// For future blogs, the Stack widget is suitable xD
      body: Stack(
        children: [sketchArea()],
      ),
      floatingActionButton: FloatingActionButton(
        backgroundColor: Colors.red,
        child: const Icon(Icons.refresh),
        tooltip: 'Clear Screen',
        onPressed: () {
          setState(() {
            points = [];
          });
        },
      ),
    );
  }

  /// Best to have this as a separate widget, but for the purpose of keeping things simple this
  /// is kept here.
  GestureDetector sketchArea() {
    return GestureDetector(
      onPanUpdate: (DragUpdateDetails details) {
        RenderBox box = context.findRenderObject() as RenderBox;
        Offset point = box.globalToLocal(details.globalPosition);
        setState(() {
          points = List.from(points)..add(point);
        });
      },
      onPanEnd: (DragEndDetails details) {
        points.add(null);
      },

      /// This method can be uncommented if each time you draw you would want to
      /// start a new drawing. This will reset the `points` array.
      ///
      // onPanStart: (DragStartDetails details) {
      //   RenderBox box = context.findRenderObject() as RenderBox;
      //   Offset point = box.globalToLocal(details.globalPosition);
      //   setState(() {
      //     points = [point];
      //   });
      // },
      child: RepaintBoundary(
        child: Container(
            width: MediaQuery.of(context).size.width,
            height: MediaQuery.of(context).size.height,
            color: Colors.yellow[100],
            child: CustomPaint(
              painter: Sketcher(points),
            )),
      ),
    );
  }
}
I have kept the home screen widget in the main.dart for simplicity. In a real-world application, this should be avoided. All screens should go in a separate screens folder and main.dart should only contain initialization logic for the entire app & its state management.
To clear the screen we have a FloatingActionButton that removes each point from the list when it is pressed. When the list is empty we would have nothing to see and hence we achieve clarity along with some peace of mind. We specify how our button looks with the remaining properties.
Here is what the final application looks like:
The effect of enabling and disabling onPanStart are seen in the gifs below.
- With onPanStart enabled

- With onPanStart disabled
It is entirely your preference to keep or remove this. I prefer not to keep it for now hence it is commented.
As promised the repository link is given below.
Github Repo - Sketching App
Currently, there is only one branch is present i.e. the master branch but soon I will add more functionality to this project. All the updates will be present as part of a new blog & details about the final code will also be shared accordingly.
For all those who made it till this point, congratulations! I hope you've learnt something valuable. I would love to see this being used in some way in your projects!
Stay tuned for more!